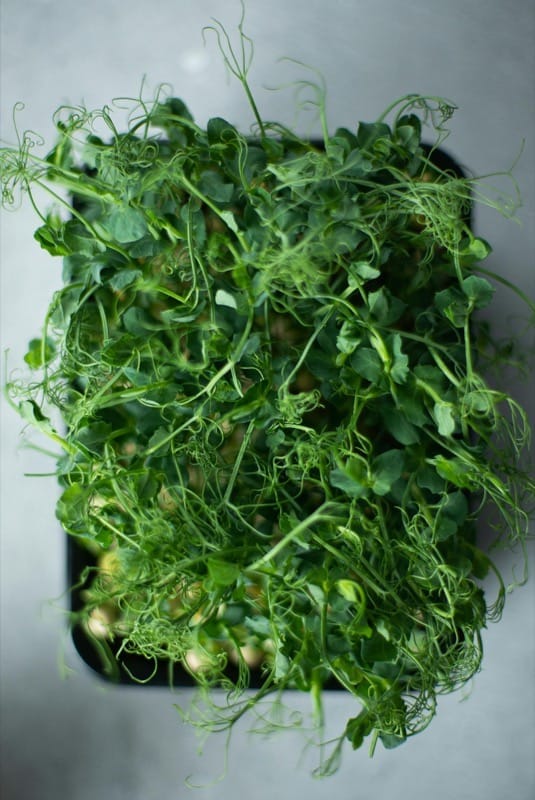
The PotsAlive Microgreens Kit is designed for a kitchen counter and a window with morning light. Two food-grade trays, a starter pack of seeds, and an instruction card; the rest you have at home. From sowing to harvest takes seven to ten days for most varieties. This guide walks through one full cycle, including what goes wrong on first attempts.
- Kit includes: 2x 9x9 inch food-grade plastic trays (drainage + solid), starter seed pack, instruction card
- You will need: one cocopeat disc, spray bottle, kitchen window with morning light
What is in the kit and why
We ship the kit with two specific tray formats. The drainage tray (perforated bottom) is the one seeds grow in. The solid tray underneath catches runoff so your kitchen counter does not get wet. The two-tray nesting design is the single most important practical detail; trying to grow microgreens in just one tray almost always ends in either standing water rotting the seeds, or peat falling through holes onto the counter.
The starter seed pack contains varieties we know germinate reliably in Indian kitchens (radish, mustard, methi). Sunflower and pea are sold as add-ons because they need overnight soaking and add complexity to a first batch.
First-time setup
Step 1: Wash both trays
Rinse with plain water. Wipe dry. The trays ship clean but a quick rinse removes any packaging dust.
Step 2: Hydrate the cocopeat
Add one cocopeat disc to a bowl. Pour 500ml of warm water over it. Wait 5 minutes. The disc swells and breaks apart. Fluff with a spoon to create roughly one litre of damp peat. The peat should feel like a wrung-out sponge, damp but not dripping.
Step 3: Layer the peat
Spread the peat evenly across the drainage tray in a layer about 1 cm thick. Aim for level. Uneven layers cause uneven germination.
Nest the drainage tray inside the solid tray. The solid tray catches the runoff when you mist.
Step 4: Soak larger seeds overnight (if using)
Sunflower and pea seeds need 6 to 8 hours of soaking before sowing. Radish, mustard, and methi can be sown dry.
For a first batch, stick with radish. It is the most forgiving and germinates within 36 hours.
Sowing day
Step 5: Sow densely
Spread the seeds across the peat surface. Much closer than you would for a normal plant; aim for a dense single layer with the seeds touching but not piled on each other. A teaspoon of radish seeds covers a 9x9 tray well.
Step 6: Mist lightly
Spray the seeds and peat surface with the spray bottle. About 10 to 15 sprays for a fresh tray. The peat should be damp throughout; no standing water at the bottom.
Step 7: Blackout
Cover the tray completely so no light reaches the seeds for the first 2 to 3 days. The simplest method: invert another solid tray over the top, or cover with a dark cloth. Germination happens in the dark; light at this stage produces leggy weak shoots.
Days 1 to 3: blackout phase
Check daily. Lift the cover briefly to mist if the peat looks dry, then re-cover. The peat should stay damp; never wet, never bone-dry.
By day 3, expect pale shoots about 1 to 2 cm tall under the cover. Almost translucent white because no chlorophyll has formed yet.
Day 4: uncover
Remove the cover. Move the tray to bright indirect morning light. A north-facing kitchen window works well; a south-facing one needs a sheer curtain to soften the light.
The shoots turn green within hours of seeing light. This colour change is the most satisfying moment of the cycle.
Days 4 to 7: growth phase
Mist every one to two days. The microgreens roughly double in height each day. True leaves (the second set after the round seed leaves) appear by day 6 or 7.
Day 7 to 14: harvest
Harvest when the first true leaves are clearly visible. Take kitchen scissors and snip the stems just above the peat line. One full 9x9 tray yields roughly 80 grams of microgreens, enough for several days of garnishing.
Eat within three days of harvest. Microgreens lose freshness fast and do not keep well even in the fridge.
A microgreens kit on a kitchen counter is one of the few indoor-gardening setups in India that delivers a visible result every single day. Day 1 is seeds. Day 3 is shoots. Day 7 is food. The pace is the appeal.
Resetting for the next batch
The trays are designed for repeated use. We have customers who have run the same trays for thirty-plus cycles over a year.
Can I sow seeds in the solid tray instead of the drainage one?
No. The drainage tray is for growing; the solid tray catches water. Inverting them causes seed rot from standing water within the first 48 hours. The two-tray nesting is the most important part of the kit design.
How much water should I add when misting?
Roughly 10 to 20 sprays a day from a small spray bottle, twice across the surface. The peat should feel damp like a wrung-out sponge. Never pour water directly; the seeds and seedlings get dislodged and the surface evens out poorly.
Can I grow two seed varieties in one tray?
Yes, but only if they have similar harvest timelines. Radish and mustard together work (both 7 days). Methi and sunflower do not (methi 7 days, sunflower 10 days). Mixing fast and slow growers gives an uneven harvest and one variety overshadows the other.
Where do I buy refill seeds?
PotsAlive ships variety-specific seed packs. You can also use quality kirana seeds (radish, mustard, methi, sarso) which germinate well. Avoid old supermarket spice seeds; many are heat-treated and will not germinate.
How many trays should I keep going at once?
For a single household, two trays staggered three days apart provides continuous harvest. Sow tray two on day three or four of tray one; harvest tray one on day seven, sow tray one again. A continuous rotation produces fresh microgreens every week.
The kit is designed to take the guesswork out of first-batch microgreens. Two trays, a cocopeat disc, a spray bottle, and a window. Follow the seven-day cycle once and the rhythm becomes obvious; from then on, the kit is the consistent kitchen-counter project that produces something edible every week.